
Effective full-body photography transcends simply standing in front of a camera; it involves a deliberate approach to body language, composition, and environmental interaction. For professionals, marketers, and individuals building a personal brand, a well-executed full-body photo communicates confidence, approachability, and professionalism. The goal is to create an image that not only captures a likeness but also conveys a specific message or feeling, enhancing visual communication across platforms from social media profiles to marketing collateral.
Mastering Body Angles and Lines
The foundation of a compelling full-body shot lies in understanding how angles and lines influence perception. A straight-on stance often appears flat and less dynamic. Instead, introduce subtle shifts that add depth and visual interest.
The S-Curve and Weight Distribution
To create a more natural and engaging silhouette, shift your weight primarily onto one leg. This subtle action causes the hip on the unweighted side to drop slightly, forming a gentle S-curve through the body. This curve breaks the rigid vertical line, creating a more relaxed and aesthetically pleasing form. For instance, if your right leg bears most of your weight, your left hip will naturally lower, and your shoulders might subtly tilt in the opposite direction. This counter-balance adds a dynamic quality, making the pose appear less staged and more fluid. Experiment with which leg takes the weight to see how it shifts your posture and overall shape.
Arm and Leg Placement for Dimension
Arms and legs can easily appear stiff or awkward if not positioned intentionally. Avoid pressing your arms flat against your sides, which can make them look wider and your torso less defined. Instead, create space between your arms and body by bending an elbow slightly or placing a hand on a hip. This creates negative space, adding dimension and preventing a blocky appearance. For legs, crossing them at the ankles or bending one knee slightly can introduce a casual elegance. If standing, try a slight bend in one knee, pushing the hip out slightly, which accentuates the S-curve. These small adjustments prevent limbs from blending into the torso and contribute to a more sculpted look.
Expressing Confidence Through Posture
Confidence in a full-body photo is not just about a smile; it's deeply rooted in posture and how you occupy space. Your stance communicates as much as your facial expression.
Head, Shoulders, and Eye Contact
Maintain an upright posture with shoulders relaxed and slightly pulled back, avoiding a hunched appearance. Your head position is critical: lift your chin slightly, but not so much that it appears arrogant. The goal is a neutral, engaged look. Direct eye contact with the camera conveys directness and trustworthiness, making the viewer feel acknowledged. If direct eye contact feels too intense for the photo's purpose, looking slightly off-camera, as if contemplating something in the distance, can create a sense of thoughtfulness or aspiration.
Engaging with Your Surroundings
A full-body photo doesn't exist in a vacuum. Utilize your environment to enhance the narrative. Leaning against a wall, resting a hand on a railing, or interacting with a prop can make the pose feel more natural and less isolated. These actions provide a sense of context and can help alleviate stiffness. For example, if you're in an urban setting, leaning against a brick wall with one foot slightly forward can convey a relaxed, urban-chic vibe. The key is to engage subtly, ensuring the environment complements, rather than distracts from, your presence.
Leveraging Light and Environment
The right lighting and a considered background significantly impact the quality and message of your full-body photos. These elements can either enhance or detract from your pose.
Natural Light Advantages
Soft, diffused natural light is often the most flattering for full-body portraits. Overcast days provide excellent natural diffusion, minimizing harsh shadows and providing an even light across the entire body. If shooting in direct sunlight, position yourself with the sun slightly to the side or behind, using a reflector to bounce light onto your front. This avoids squinting and harsh shadows under the eyes and nose. Early morning or late afternoon (the "golden hour") offers warm, soft light that can add a professional, inviting glow to your images.
Background Simplicity
A cluttered or distracting background can undermine even the best pose. Opt for clean, uncluttered backgrounds that provide contrast without competing for attention. Solid walls, natural landscapes with blurred elements, or minimalist architectural features work well. The background should serve to frame you, not overwhelm you. Pay attention to elements like power lines, trash cans, or bright signs that might inadvertently draw the viewer's eye away from the subject.
Wardrobe and Prop Integration
What you wear and how you use props are integral to the overall impression of your full-body photo. They should align with your intended message and enhance your pose.
Complementary Clothing Choices
Choose clothing that fits well and flatters your body shape. Overly baggy or tight clothes can distort your silhouette. Solid colors or subtle patterns generally work best, as busy patterns can distract. The color palette should complement your skin tone and the overall mood you wish to convey. For professional shots, tailored pieces like blazers, well-fitting trousers, or dresses often present a polished image. For more casual branding, comfortable yet stylish attire that reflects your personality is appropriate.
Using Props to Enhance Narrative
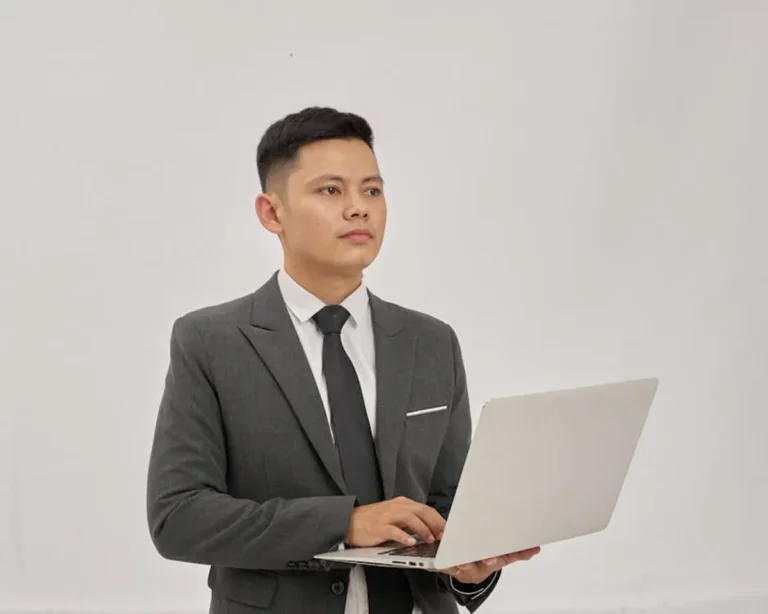
Props can add context, personality, and a sense of activity to your full-body photo. A laptop, a book, a coffee cup, or a piece of equipment related to your profession can tell a story without words. When using props, interact with them naturally. Hold a book as if you're about to read it, or gesture with a pen as if explaining a concept. The prop should feel like a natural extension of your persona, not an afterthought. Avoid props that are too large, too bright, or too numerous, as they can quickly become distracting.
Pro Tip: Practice your poses in front of a mirror or record short video clips of yourself. This allows you to see how different angles and movements translate on camera, helping you identify what looks most natural and confident before the actual shoot. Pay attention to how your weight shifts and where your gaze lands.
Common Posing Pitfalls to Avoid
- The "Lollipop Head" Effect: Standing too far from the camera with your head disproportionately small compared to your body. Ensure appropriate distance to maintain natural proportions.
- Stiff Limbs: Locked knees, straight arms pressed against the body, or rigid hands. Introduce gentle bends and natural gestures to create fluidity.
- Slouching Shoulders: A common habit that conveys lack of confidence. Always maintain an upright, relaxed posture with shoulders back.
- Awkward Hand Placement: Hands stuffed in pockets, floating aimlessly, or clasped too tightly. Use hands to create subtle gestures, hold props, or rest gently on hips or pockets.
- Forced Smiles: A genuine smile reaches the eyes. If a full grin doesn't feel natural, a relaxed, soft expression with a slight upturn of the lips is often more effective.
- Ignoring the Background: Allowing distracting elements like power outlets, overflowing bins, or random passersby to appear directly behind your head or body.
Refining Your Full-Body Presence
Ultimately, successful full-body posing is about projecting an authentic and intentional presence. It combines technical awareness of angles and light with a genuine expression of confidence and personality. Before a shoot, consider the specific message you want to convey and how your posture, expression, and attire can collectively support that narrative. Reviewing your photos critically—looking for areas of stiffness, imbalance, or distraction—will help you refine your approach for future sessions. Consistent practice and attention to detail will elevate your full-body photography from simple snapshots to impactful visual statements.
Frequently Asked Questions
How do I look taller in full-body photos?
To appear taller, shoot from a slightly lower angle, extend your body upwards, and stand with one foot slightly in front of the other, pointing your toes towards the camera. Wearing monochromatic outfits and vertical lines can also enhance this effect.
What should I do with my hands in full-body poses?
Avoid letting your hands hang limply. Instead, place them lightly on your hips, in pockets (with thumbs out), hold a prop, or cross your arms gently. The key is to keep them relaxed and purposeful, avoiding clenched fists or stiff fingers.
How can I avoid looking stiff or awkward in photos?
Introduce subtle movement and bends. Shift your weight, bend a knee, create space between your arms and body, and angle your body slightly. Thinking about "softening" your joints rather than locking them will help create a more natural appearance.
Should I always smile in my full-body photos?
Not necessarily. The best expression depends on the photo's purpose and the message you want to convey. A genuine smile is excellent for approachability, but a thoughtful or confident neutral expression can be more appropriate for certain professional or artistic contexts. Authenticity is key.